Getting Started
You’ll be tracking in no time!
Project Card Basics
Project Overview Tab
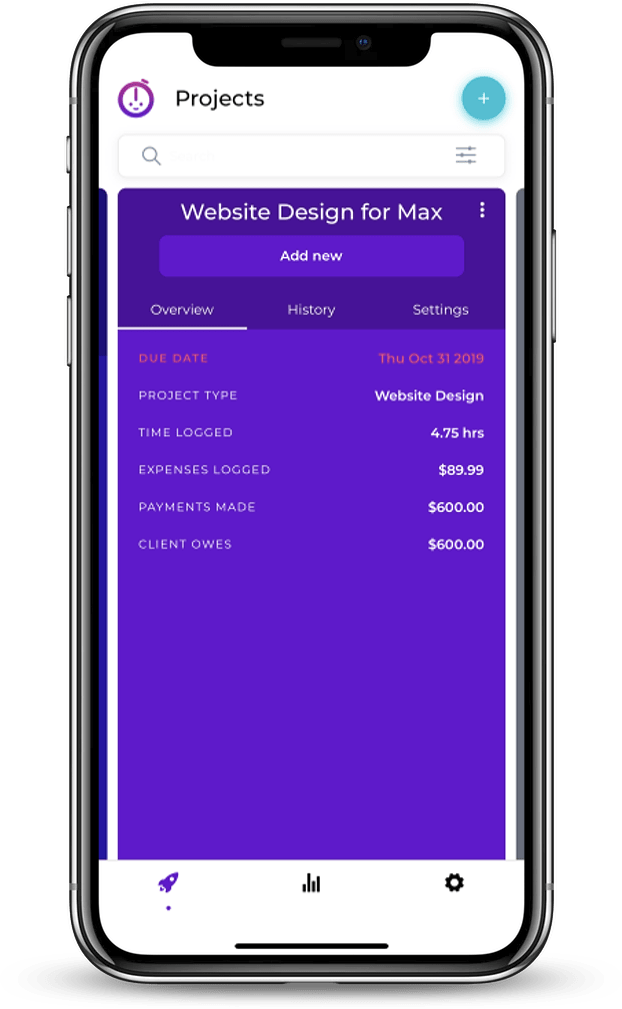
The project overview tab gives you some quick info about your project at a glance. On the overview tab you’ll see the following:
- The Project Type
- The total time logged against the project
- The total of all expenses logged against the project
- The total of all client payments logged against the project
- The total the client currently owes (the fixed fee or total based on time spent minus the total of any logged client payments)
Project History Tab
The project history tab shows all time, expense, and payment entries associated with a project.
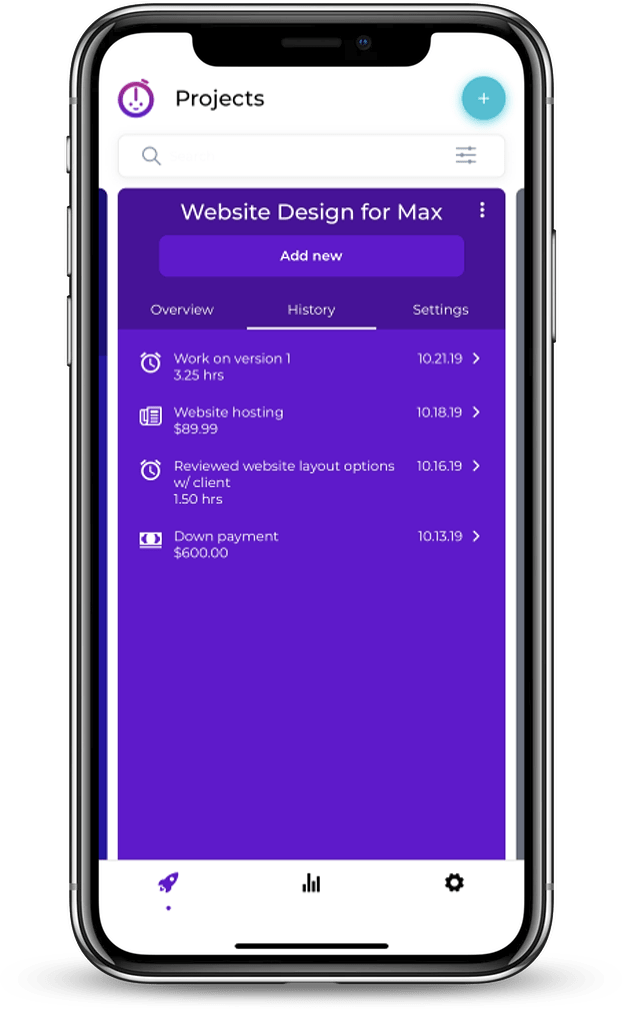
To see a detailed view of the entry, simply tap or click on it.
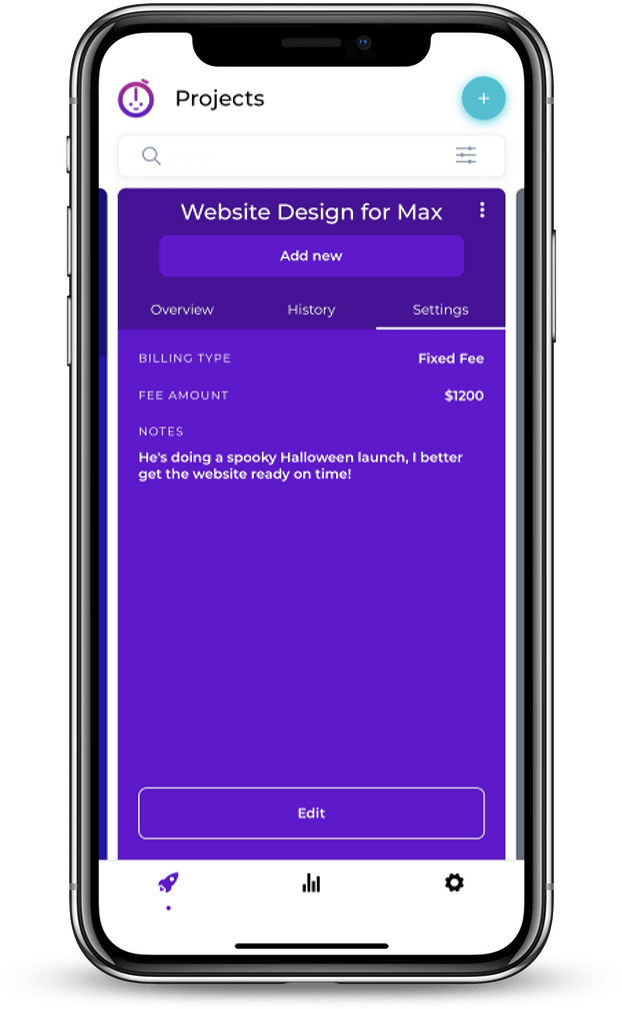
Project Settings Tab
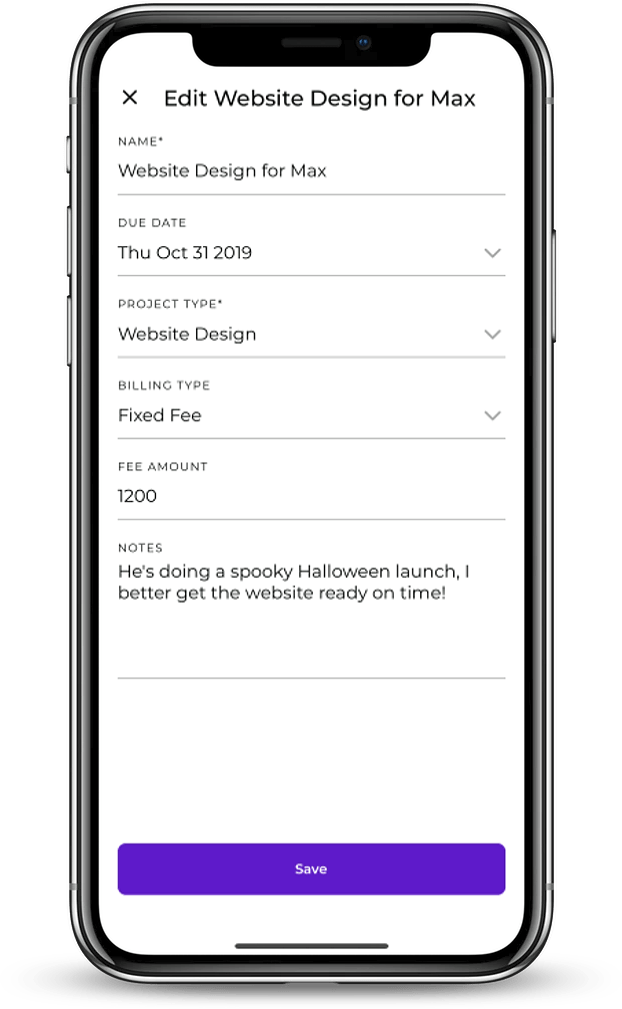
The project setting tab allows you to see and edit the settings for that project. The following are the settings availabled:
- Project Name: A name that you select for the project.
- Project Type: The type of project (either a default type like “fixed fee” or a custom type you’ve set up like “Website build”).
- Due Date: The due date for the project
- Billing Type: This describes the way the project is priced – “fixed fee” describes a project with a set cost to the client regardless of the time spent, “time & materials” indicates that the client will be charged a set rate for time spent, and “non-billable” indicates that the client will not be charged for the project.
- Fee Amount: This is the amount the client is being charged for the project – this field will only show if the billing type is “fixed fee”.
- Hourly Rate: This shows the hourly rate the client is being charged for work on this project – this field will only show if the billing type is “time & materials”.
- Notes: This is a text area in which you can record general notes about the project.
Adding Project Entries
Adding Project Entries
To add a new entry to a project record, simply click “Add new” at the top of the project.

After clicking “Add new” you’ll see a list of entry types from which you can choose. Simply choose the entry type you’d like to add, fill in the required fields (marked with an asterisk), tap save, and you’re done!
Using Project Types
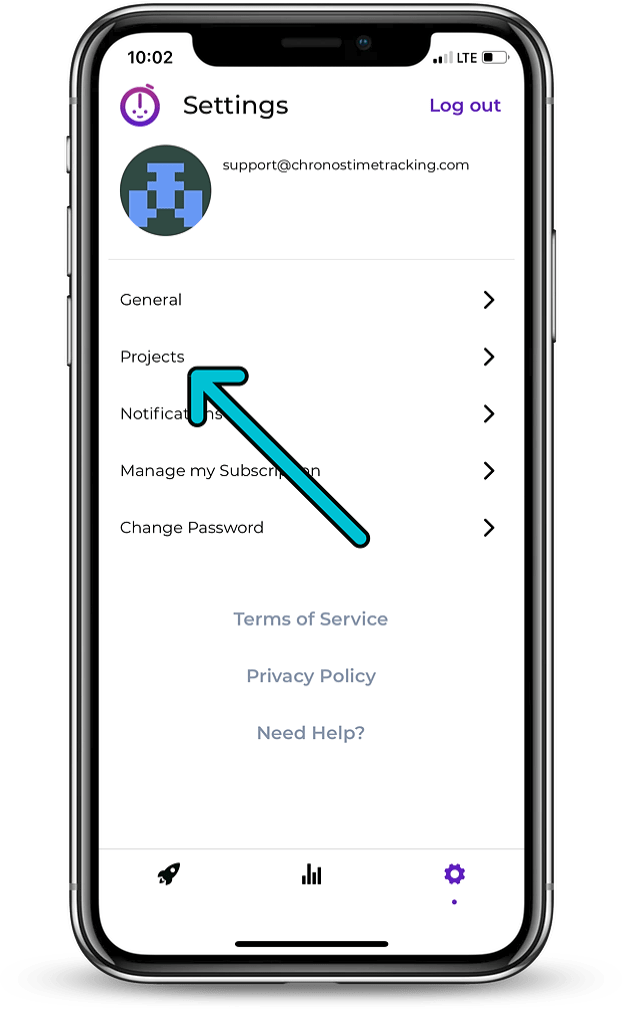
Adding & Editing Project Types
To create or edit a project type, visit the Settings section and select “Projects” from the settings menu.
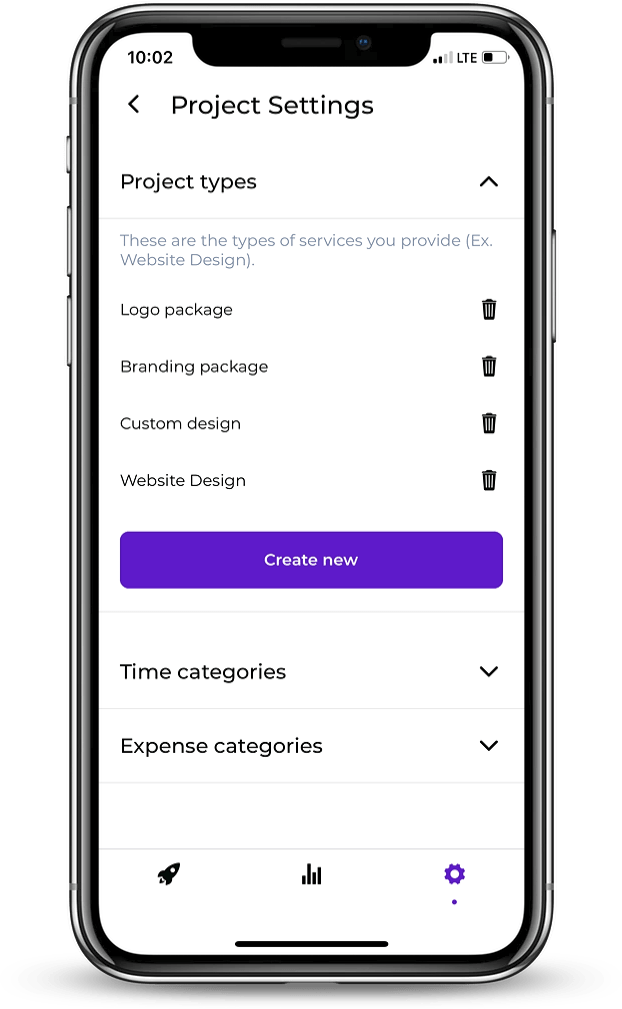
After clicking “Project types” you’ll see your list of current project types. By clicking on an existing project type you can change the default settings that will be applied to projects of that type. You can also delete project types by clicking the trash can or add new project types by clicking the “Create new” button.
You can also create a new project type while creating a new project record simply by clicking “Create new” when adding a project type to the new project record.
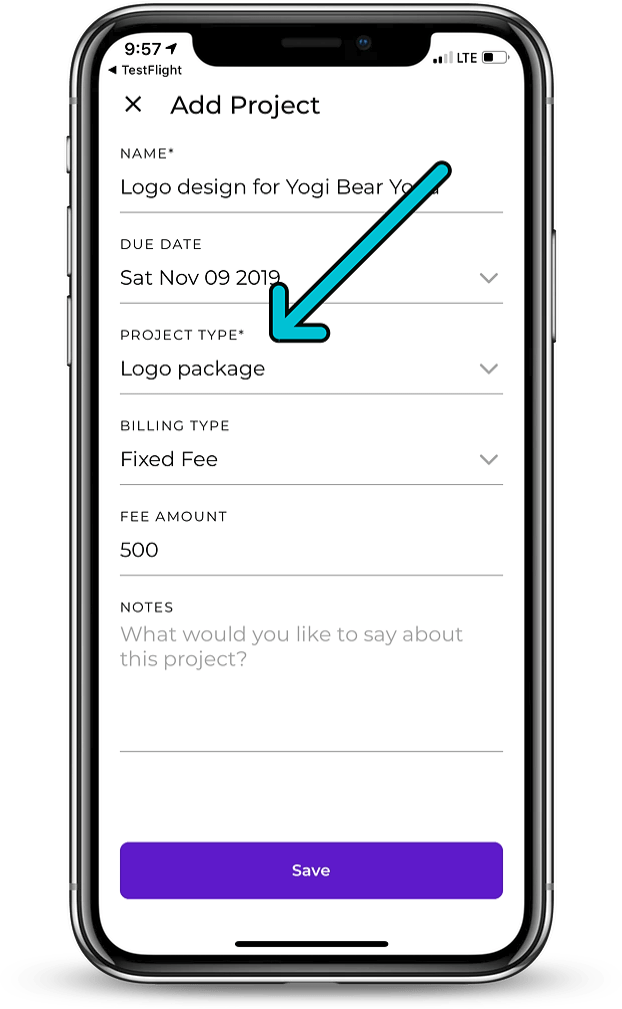
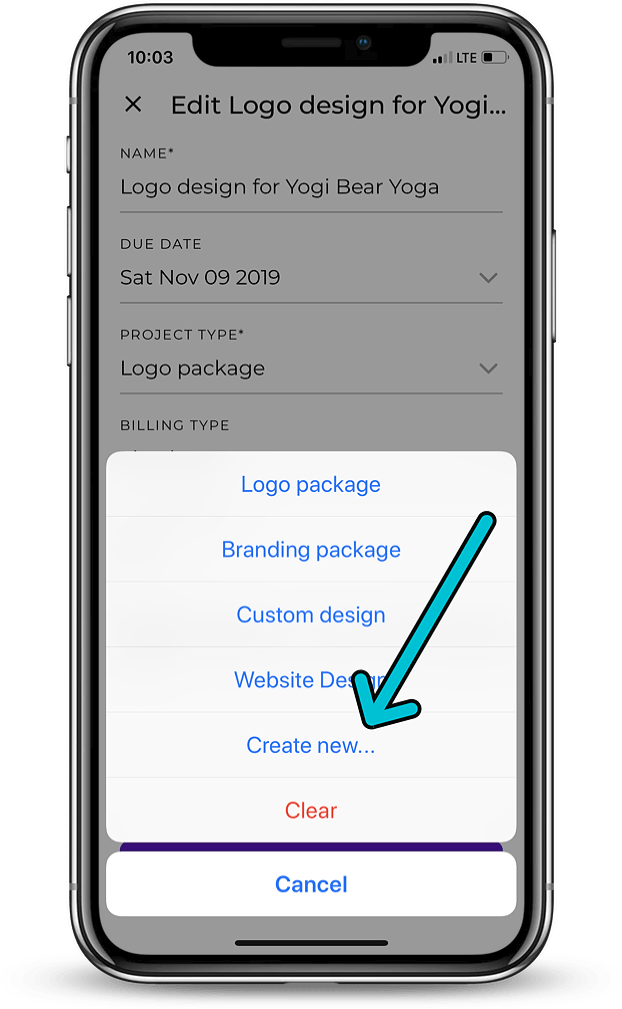
Assigning a Project Type to a Project
When creating a project, you can assign a project type on the new project form. Upon choosing a project type, the default settings for that project type will be assigned to the project you are creating. All those settings can then be customized before you save your new project.
To change a project’s type after the project has been created, simply go to the “Settings” tab on the project, click edit, change the project type, and hit save.
Using Time/Expense Categories
Time & Expense categories are a way to understand how you’re spending the time and expenses you log against projects. This information is useful for quoting projects more accurately (see Smart Estimates), calculating your profit and loss, and finding opportunities to cut costs. Both Time and Expense categories can be added and edited in Settings. The following are examples of categories you might find in the account of a graphic designer.
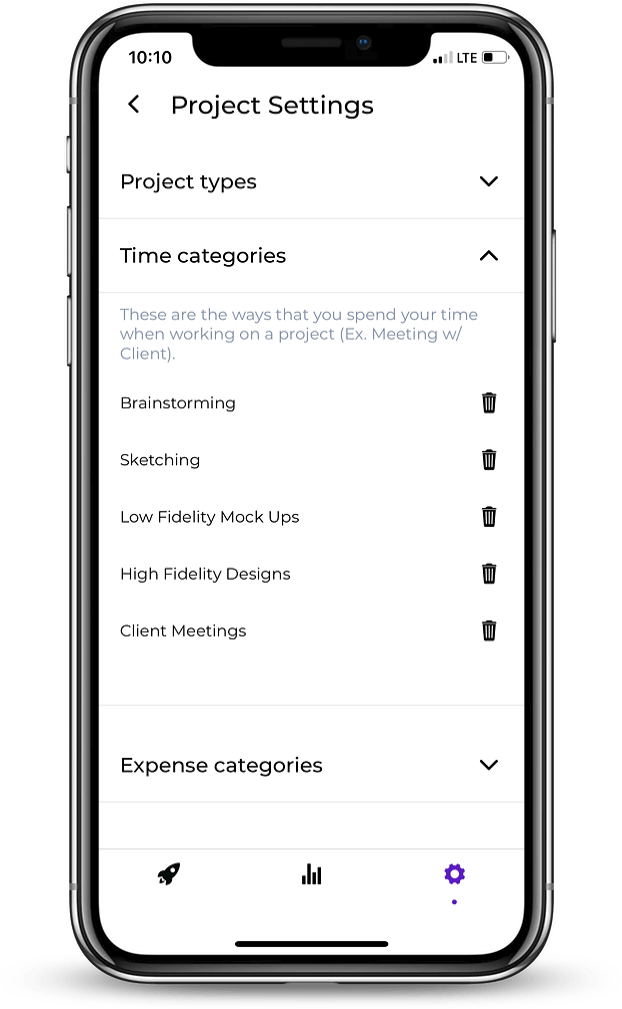
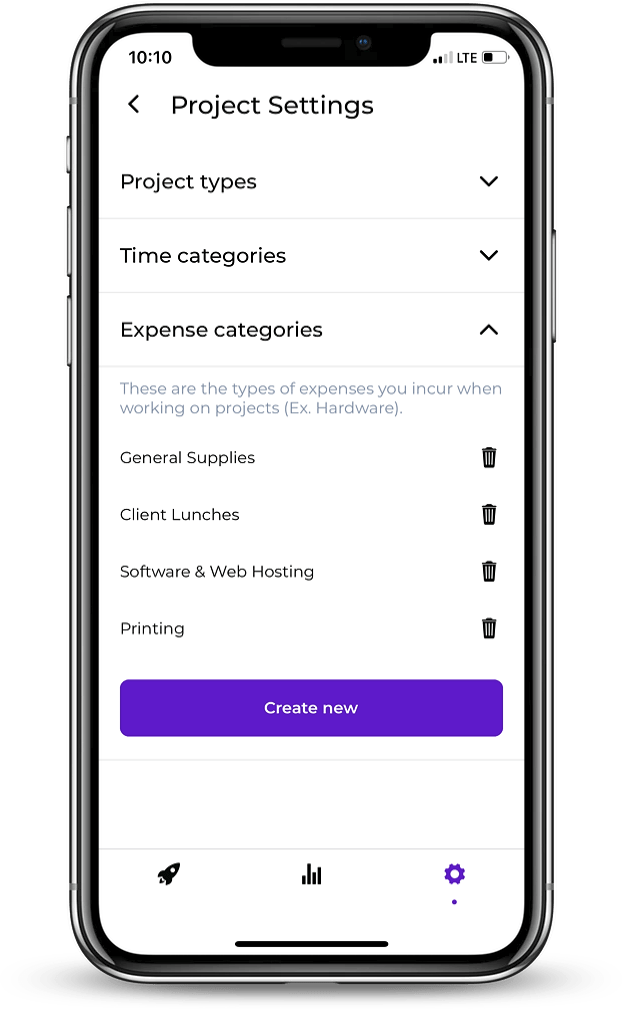
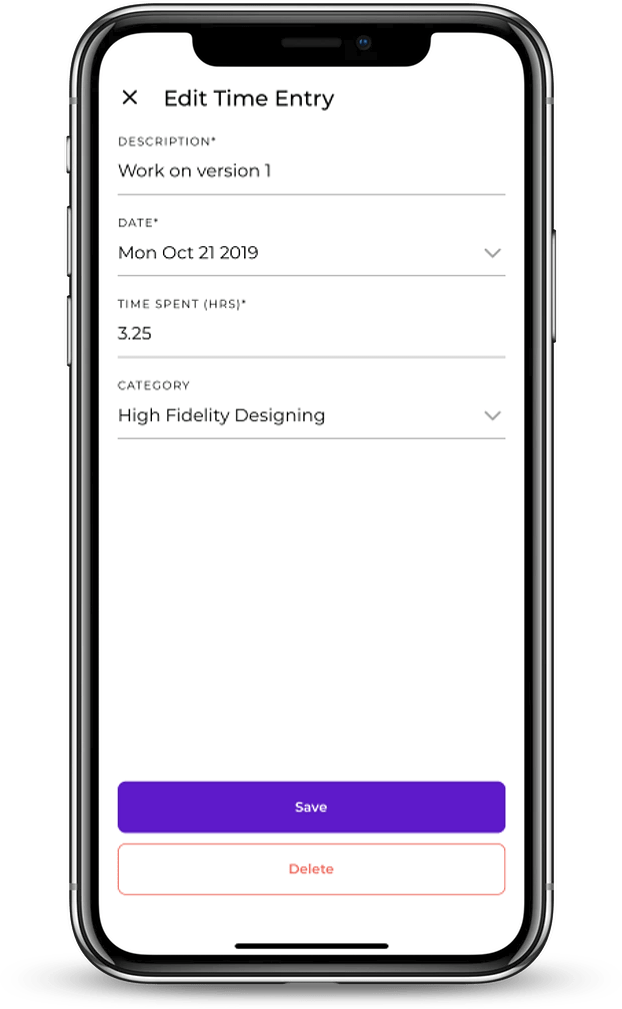
To add a time or expense category to an entry on a project, simply select the correct category from the drop down menu when creating your time/expense entry.

Smart time tracking for freelancers.
© Copyright 2019. Chronos Time Tracking LLC