Adding Entries
Time, Expenses, and Payments
Adding a Time Entry
To add a time entry, click “Add new” on the project on which you’re logging time and then select “Add time entry”.

You will then be presented with the time entry form. Simply write any notes about what you got done (this will show in the history section of the project), indicate the amount of time you spent, the category of the time you spent (this will be used in a variety of reports), and ensure that the date is correct (it will default to the current date, but you can backdate entries if you wish). Hit save and you’re done!

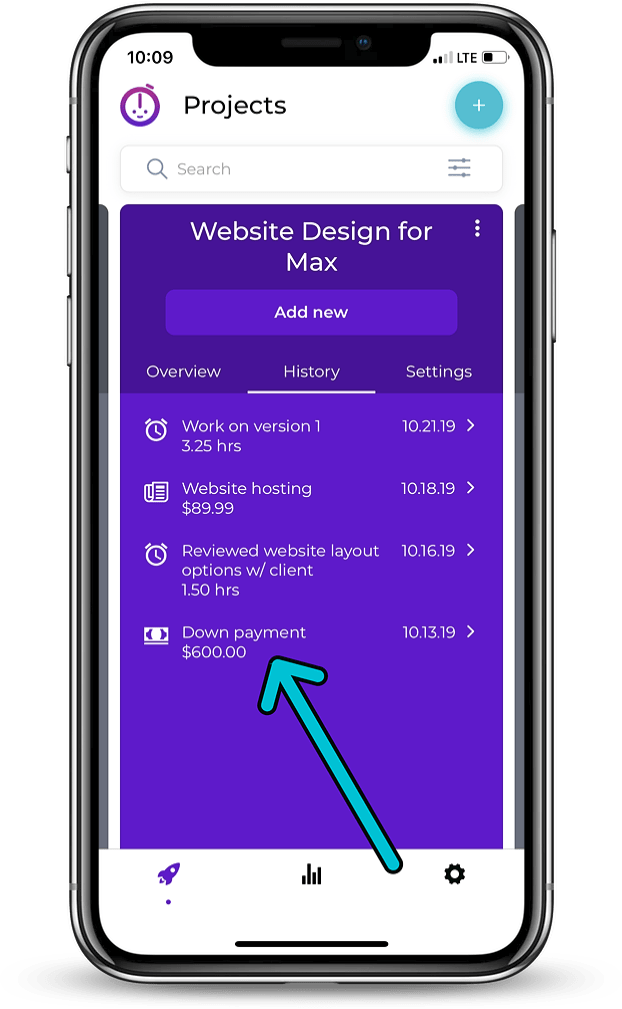
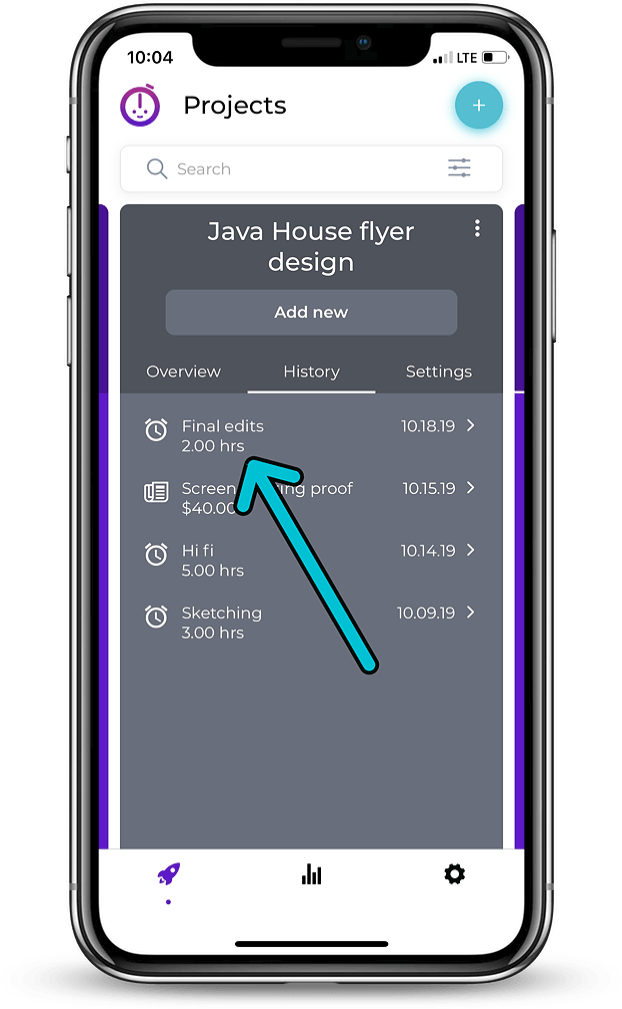
When you look at the “History” tab of your project record you’ll see your new entry appear.
Using Smart Timers
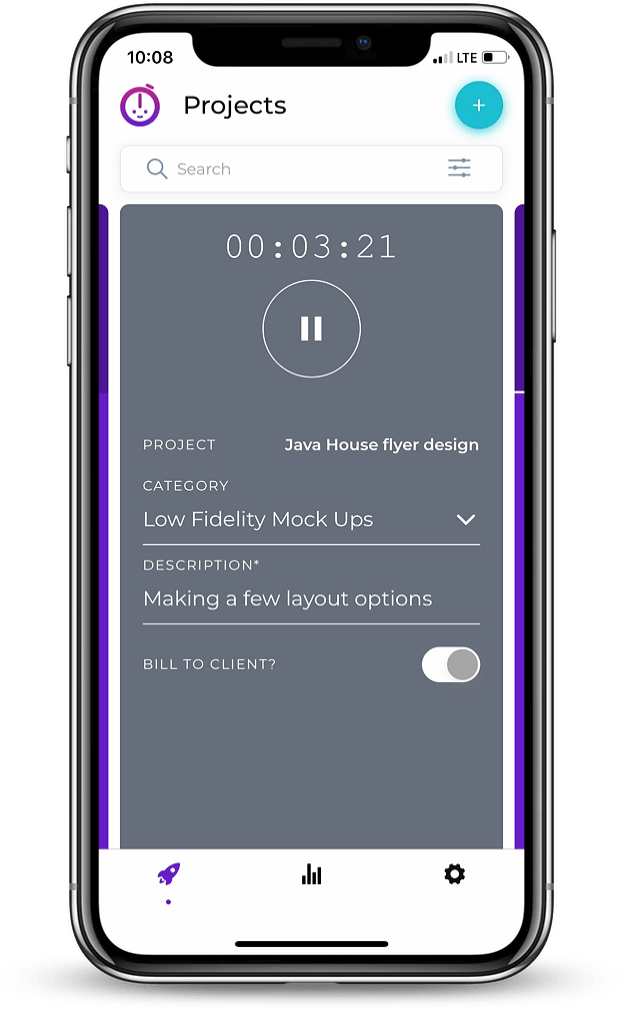
In order to start a timer, click “Add new” on the project against which you’d like to log time and select “Start timer”.
Your project card will now flip over and begin timing your work. At any time while your timer is running you can enter notes about the work you’re doing or assign a category to the time you’re tracking (this will be used in a variety of reports). You can also do this after stopping your timer.
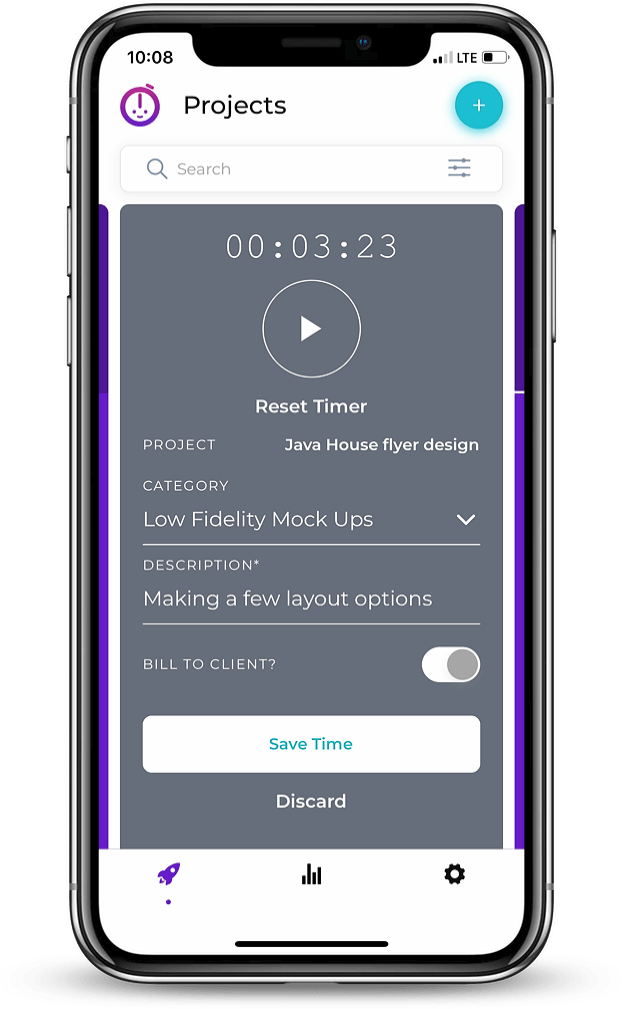
To stop your timer simply tap the pause button. We’ll track how long your timer has been on and notify you if it’s been on longer than usual to make sure you don’t accidentally leave it running. After pausing your timer you can edit any of the details about your time entry, including the amount of time spent, and then either save or discard the entry. If you navigate away from your timer to a different project, Chronos will retain your draft entry until you either save or discard it.
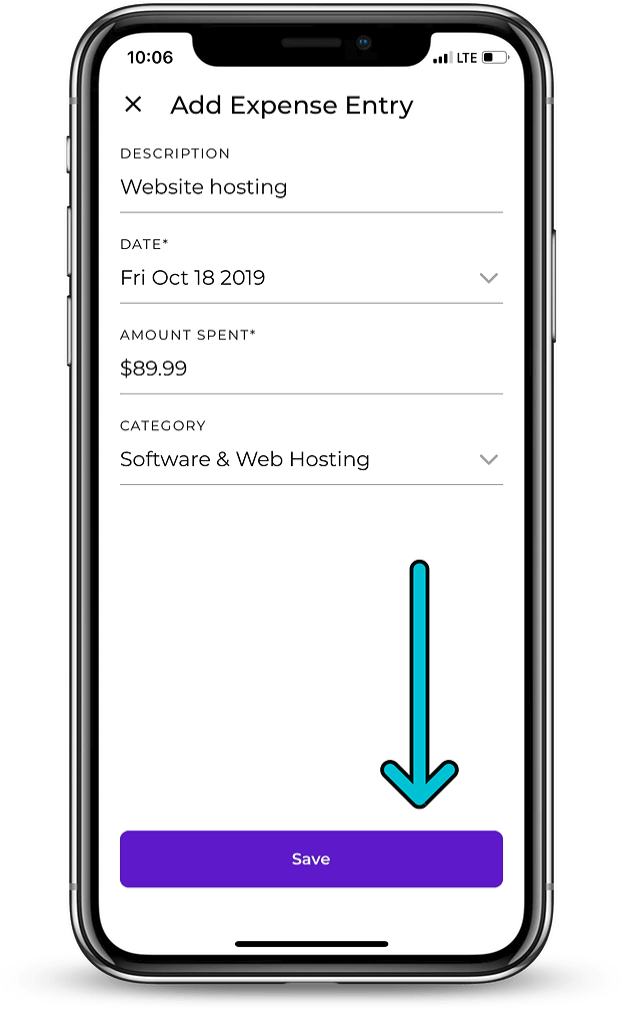
Adding an Expense Entry
To add an expense entry, click “Add new” on the project against which you want to log the expense and then select “Add expense”.
You will then be presented with the expense entry form. Simply write any notes about the expense (this will show in the history section of the project), indicate the amount of money spent, the category of the expense (this will be used in a variety of reports), indicate whether or not this expense should be billed to the client, and ensure that the date is correct (it will default to the current date, but you can backdate entries if you wish). Hit save and you’re done!
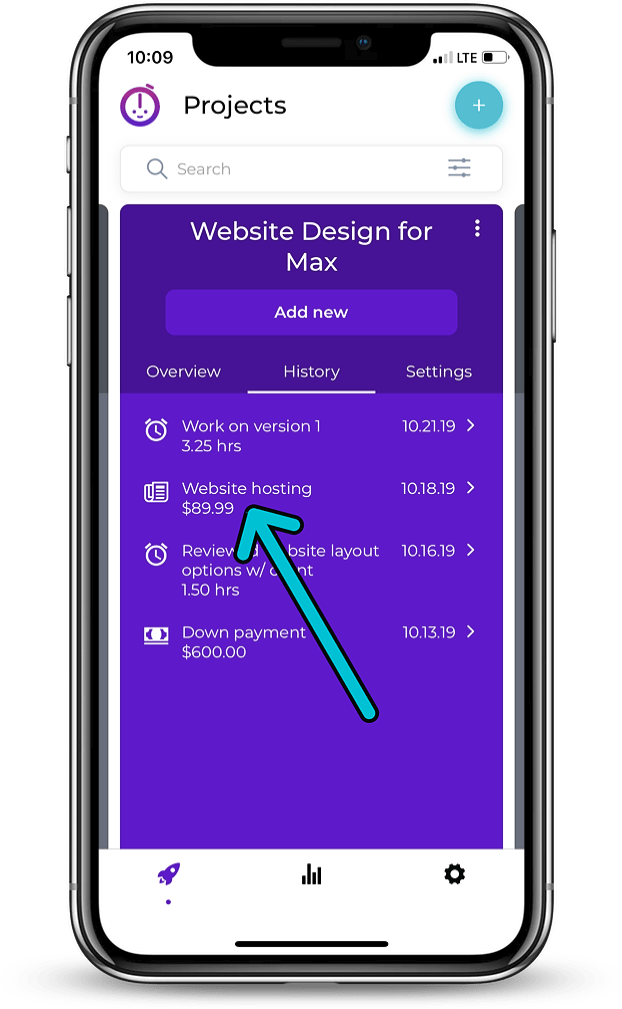
When you look at the “History” tab of your project record you’ll see your new entry appear.
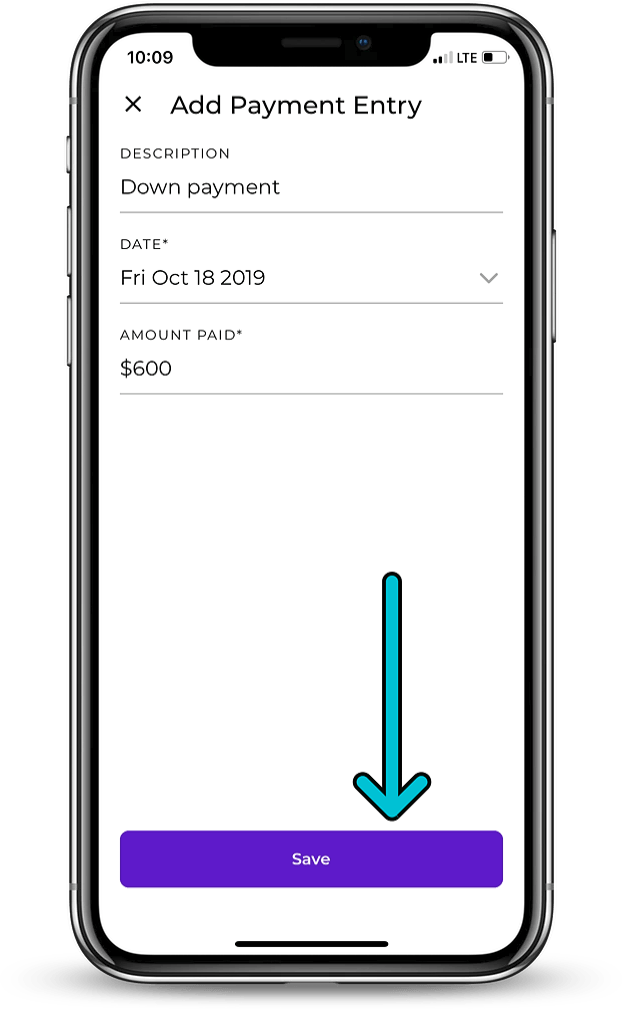
Adding a Payment Entry
To add a payment entry, click “Add new” on the project against which you want to log the expense and then select “Add payment”.
You will then be presented with the payment entry form. Simply write any notes about the payment (this will show in the history section of the project), indicate the amount the client paid, and ensure that the date is correct (it will default to the current date, but you can backdate entries if you wish). Hit save and you’re done!
When you look at the “History” tab of your project record you’ll see your new entry appear.